September 24, 2026
Solar Panel Removal for Roof Replacement Steps
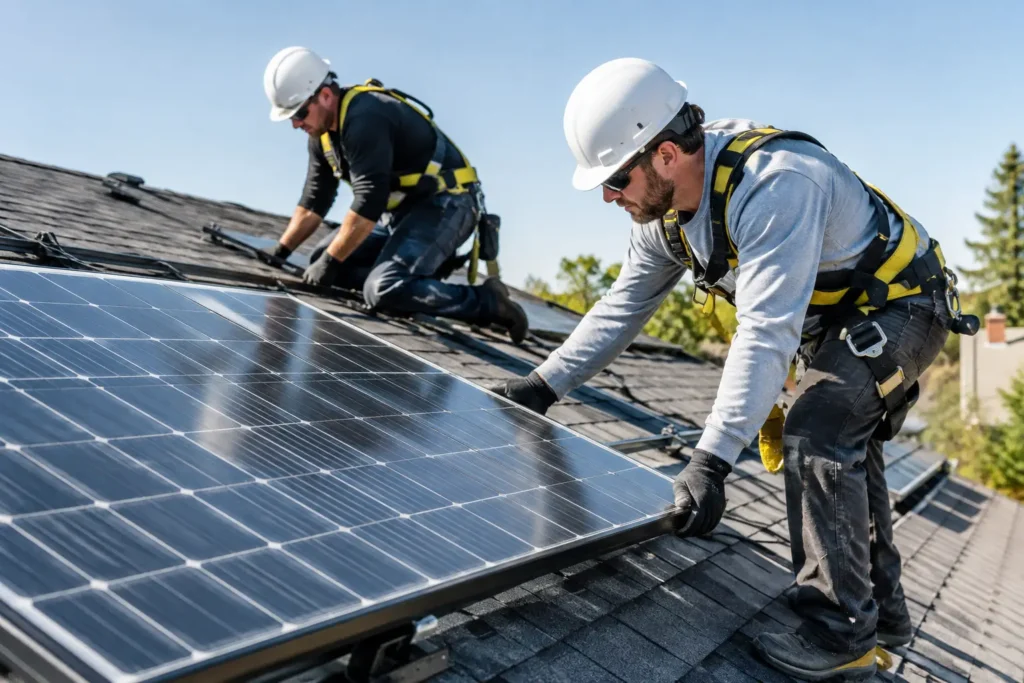
A roof replacement should not put a working solar investment at risk. Solar panel removal for roof replacement is a coordinated electrical and roofing process, not simply a matter of taking panels down and putting them back up. The array must be disconnected safely, documented carefully, stored securely, and reinstalled in a way that respects the equipment, roof system, and manufacturer requirements.
For Central Florida homeowners, the need often arrives quickly. A roof may be nearing the end of its service life, a repair may uncover broader deterioration, or storm damage may require immediate access to the roof deck. The roofing crew needs a clear work area. The homeowner needs confidence that every panel, rail, attachment, wire, and connection will be accounted for when the work is complete.
Why Solar Must Be Addressed Before Roofing Begins
Solar panels, mounting hardware, and electrical pathways sit directly on top of the roof assembly. Even when a roofer has extensive experience, the solar scope calls for its own plan. Removing shingles or underlayment around an active array without first detaching the system can damage modules, compromise wiring, or leave roof penetrations exposed and difficult to restore correctly.
A proper removal gives the roofer the access needed to inspect and replace the roof deck, flashing, underlayment, and finished roofing materials. It also helps prevent a rushed handoff in which panels are shifted from one side of the roof to another, connectors are left unprotected, or hardware becomes mixed together on a busy jobsite.
The goal is not just to get the array out of the way. The goal is to preserve one protected system from the first inspection through final production verification.
What a Controlled Removal and Reinstall Process Looks Like
The right sequence creates order for both the homeowner and the roofing contractor. Timing matters because the solar team must remove the system before roofing begins, while reinstallation must wait until the roof is complete, the work area is clean, and all necessary roof details are ready for mounting.
1. Pre-work inspection and documentation
Before any equipment is touched, the system should be reviewed in place. This includes the panel layout, rail configuration, roof attachments, visible wiring routes, inverter or equipment location, and current condition of components. Photos establish a record of the existing array and help guide precision reinstallation later.
This stage is also where unusual conditions become visible. A system may have aging wiring, damaged conduits, prior roof leaks near attachments, recalled components, or a layout that conflicts with planned roof repairs. Identifying concerns early provides options before crews are on the roof and the schedule is under pressure.
2. Safe electrical shutdown and labeled disconnection
A solar array produces electricity whenever sunlight reaches the panels. Shutdown and disconnection must be handled methodically, using the system’s designed disconnects and established electrical safety practices. Each connection, conductor, and component that needs to be separated should be labeled so it can be returned to its correct location.
Labels and documentation may feel like small details, but they reduce avoidable errors during reinstallation. A clean labeling system protects against crossed connections, missing hardware, and time-consuming troubleshooting after the roof is complete.
3. Careful panel and mounting removal
Panels are removed individually and handled as finished electrical equipment, not general construction debris. Modules can be damaged by impacts, pressure on the glass, improper lifting, or being stacked without protection. Rails, clamps, attachment hardware, and wiring components also need organized handling because they are part of a specific engineered assembly.
Roof attachments are removed in coordination with the roofing plan. This gives the roofer access to the full roof surface and allows old penetrations or affected sections of decking to be addressed correctly. It also avoids the temptation to work around hardware that should have been removed from the start.
4. Protected staging during the roof project
Where the equipment is staged depends on the property, roof schedule, weather conditions, and available secure space. Panels should be stored on padded racks or similarly protected supports, rather than leaned against walls or placed directly on the ground. Connectors and exposed electrical components should remain organized and protected from moisture, impact, and jobsite traffic.
Florida weather adds another consideration. A sudden storm can change the conditions on a jobsite quickly. Protected staging is not an optional extra when equipment may be off the roof for several days. It is part of preserving the value of the existing system.
5. Warranty-aware precision reinstallation
Once the new roof is ready, the solar system can be remounted. The installation should follow the documented layout and use compatible mounting methods, flashings, and hardware appropriate for the roof and the existing solar equipment. The roof must remain weather-tight while the array is securely attached and properly aligned.
This is where details determine whether the finished project looks and performs as it should. Panels should sit evenly, wire management should be neat and protected, and electrical components should be returned to their intended locations. If a panel, rail, attachment, or electrical part has been damaged or is no longer suitable for reuse, that should be identified clearly rather than hidden by a shortcut.
6. Electrical testing and final production check
A system can look complete and still have an issue that affects output. After reinstallation, testing confirms that electrical connections are correct and that the system is operating as expected. A final production check provides the homeowner and roofing team with a documented handoff instead of an assumption that everything is fine.
Depending on the system and site conditions, production results can vary with weather, time of day, shading, and utility status. The point is to verify normal operation within those conditions and address any abnormal readings before the job is closed.
Questions to Settle Before Scheduling Solar Panel Removal for Roof Replacement
A clear scope prevents last-minute surprises. Homeowners should know whether the work includes removal, protected on-site staging, reinstallation, electrical testing, and final production verification. It is also worth confirming who will coordinate dates with the roofer, especially if the roof project is tied to an insurance timeline or a storm-related repair.
Ask how existing equipment will be documented and labeled, where panels will be stored, and how damaged or non-reusable components will be handled if discovered. A reliable provider should explain these points in plain language. The right answer may vary by roof type, array size, system age, and condition, but the process should never be vague.
Roofing contractors benefit from the same clarity. They need to know when the roof deck will be accessible, whether old attachments will be removed fully, and who owns the solar work from start to finish. Direct coordination helps avoid gaps between crews, especially when weather pushes a schedule forward or back.
Common Shortcuts That Create Expensive Problems
The lowest-cost approach is not always the lowest-risk approach. Leaving panels in place and roofing around them can limit access to the roof surface and create complications at flashings, edges, and penetrations. Moving equipment without documentation may save time initially but can make reassembly and troubleshooting far more difficult.
Another common issue is treating reinstallation as only a mounting task. Solar work includes mechanical attachment, electrical connections, wire protection, roof integrity, and performance verification. If any of those pieces are skipped, the homeowner may not discover the problem until an electric bill rises or a roof leak appears after the project team has left.
A separate concern is warranty awareness. Solar and roofing warranties are not identical, and requirements can differ by manufacturer, mounting system, roof material, and prior installation condition. No provider should promise a universal outcome without reviewing the actual equipment and roof scope. What matters is a documented, workmanship-centered process that respects both systems.
When a Roof Project Is Also a Solar Opportunity
Removal time can be a useful moment to inspect equipment that is normally difficult to see. Technicians may identify cracked panels, worn wire protection, loose hardware, debris buildup, or components that need attention before they are returned to the roof. For some properties, it may also be the practical time to relocate panels for a roof addition, skylight, vent, or changed layout.
That does not mean every roof replacement requires upgrades. If the array is in good condition and the original layout still works, careful restoration is often the right path. The decision should be based on the condition of the system and the homeowner’s plans, not pressure to add work that does not serve the project.
Remove & Restore Solar approaches this work as a disciplined handoff between a functioning solar system and the roofing project beneath it. Every panel, every connection, every time, the focus is on accountable handling and a verified return to service.
If your roof needs attention, bring the solar conversation into the plan before the first bundle of shingles arrives. A documented removal, protected staging plan, and final production check can turn a stressful coordination problem into a controlled project with a clear finish.