November 2, 2026
Storm Damage Solar Assessment Example Explained
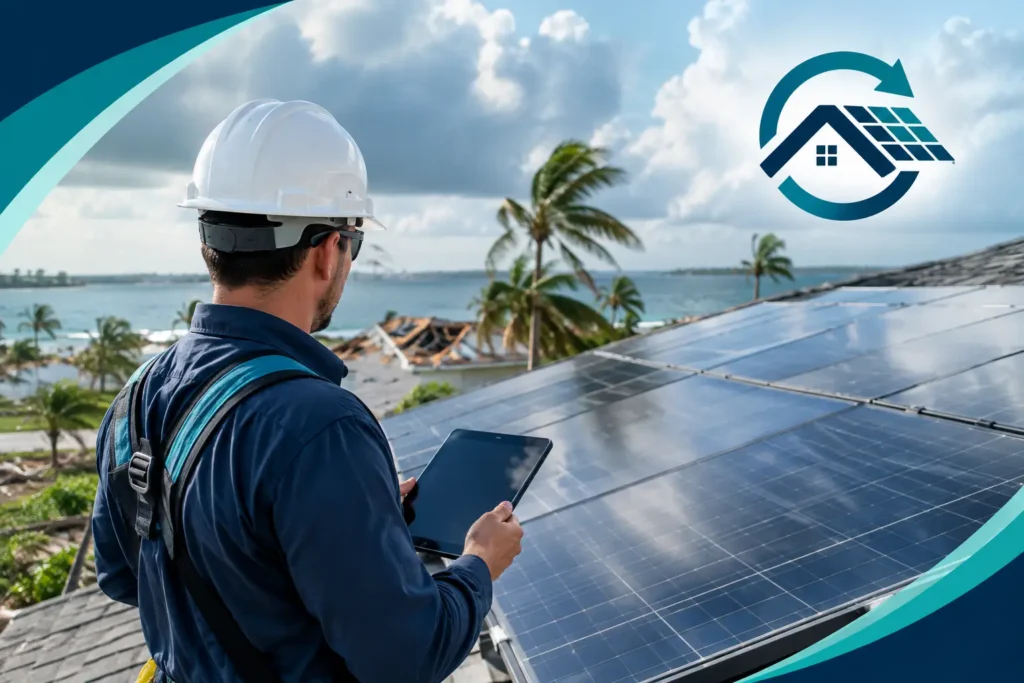
A storm can leave a solar array looking intact from the ground while the roof, mounting points, wiring path, or electrical equipment needs closer review. This storm damage solar assessment example shows the level of documentation that helps a homeowner, roofer, and solar contractor make informed decisions before panels are moved or roof repairs begin.
For a Central Florida home, the right assessment is not a quick look at the modules alone. It is a controlled record of the system’s visible condition, roof-access needs, and observed electrical status at that point in time. That record creates a baseline for the detach-and-reset scope and identifies items that may need separate approval.
What a Storm Damage Solar Assessment Is Meant to Do
A solar assessment after severe weather has a practical purpose: determine whether the array can remain in place during roof work, whether it must be temporarily removed, and what conditions should be documented before anyone touches the equipment.
It should separate observed conditions from assumptions. A cracked roof tile near an array, for example, does not automatically mean a panel has failed. Likewise, a monitoring alert does not prove storm damage. The assessment records what can be seen and tested safely, then identifies what requires further diagnosis, replacement parts, manufacturer guidance, or a separate corrective-work quote.
For homeowners, this protects a valuable system from being treated as an obstacle to roofing work. For roofers, it creates a defined work area and a clear handoff rather than asking a roofing crew to work around energized equipment. Craft over shortcuts matters most when roof access is urgent and the solar system is still part of the structure that needs protection.
Storm Damage Solar Assessment Example
The following is an illustrative example, not a report from a specific property. Actual findings, access conditions, testing scope, charges, scheduling, and repair recommendations must be confirmed for each site.
Property and project condition
Site condition: A residential roof in Brevard County experienced high winds and wind-driven rain. The roofing contractor identified damaged shingles and requested access to roof areas beneath a 28-module photovoltaic array.
Homeowner concern: The homeowner reported that the solar monitoring application showed lower production after the storm. Ground-level review showed no obvious broken glass. Several roof shingles were lifted near the upper array edge, and leaf debris had collected beneath the lower row of modules.
Assessment purpose: Document the existing PV installation before roof replacement, determine whether a full detach-and-reset is needed, and identify visible conditions that could affect safe removal, staging, reinstallation, or final testing.
Pre-work documentation
The assessment begins with photos of the array layout, module labels where accessible, rail locations, roof penetrations, visible wiring routes, inverter equipment, rapid-shutdown components if present, and any accessible electrical disconnects. Wide photos establish the overall layout; close photos capture conditions such as exposed conductors, loose clips, damaged conduit, cracked modules, corrosion, or disturbed flashing.
In this example, the assessor records that all 28 modules appear present and secured at the time of inspection. No cracked module glass is observed from accessible viewing positions. One wire-management clip appears displaced near the northeast array edge. Two roof penetrations adjacent to the upper rail are not available for final evaluation until the modules and rails are removed.
This distinction is useful. The assessment does not state that those penetrations are sound or defective before access exists. It records the limitation and makes roof-level inspection part of the coordinated work sequence.
Equipment and mounting observations
The mounting system receives its own review because storm damage can affect more than modules. The assessment notes visible rail alignment, clamps, roof attachments, flashing condition where visible, module spacing, cable support, and signs of movement or abrasion.
In this example, rail lines appear generally straight from ground and roof-access viewing. No loose modules are identified. However, debris beneath the lower row and the displaced wire clip should be addressed during removal and reinstallation. If specialty hardware, damaged rails, replacement clamps, new wiring components, or other corrective materials are required after closer access, those items should be quoted separately before installation proceeds.
Electrical observations and testing record
A production check is a record of observed operation, not a promise of future production. Weather, shading, system design, utility conditions, equipment age, and pre-existing faults all affect output. The assessment should state the conditions under which readings were observed and avoid turning a single site visit into a guarantee.
For this example, the inverter is accessible and shows normal operating status during the inspection window. The monitoring portal shows a lower-than-expected daily total compared with a recent clear-weather period, but the day of inspection has intermittent cloud cover. No definitive storm-caused electrical failure is established from that comparison alone.
The written record may note that visible accessible connections appear intact, that observed inverter status was normal at the time checked, and that no alarm code was displayed during the visit. It should also identify the unresolved question: lower production reported by the homeowner requires a post-reinstallation production check under suitable operating conditions, and any fault found outside the detach-and-reset scope requires separate evaluation and approval.
Turning Findings Into a Controlled Work Scope
A useful report does not stop at observations. It explains what happens next, who owns each handoff, and what is not included without written approval.
For the example above, a typical proposed scope would include pre-work photographs and labeling, safe PV system shutdown by qualified personnel, module and mounting-component removal as required for roofing access, protected staging, coordination with the roofer’s roof-ready notice, precision reinstallation after roofing completion, and a documented closeout check.
Protected staging means panels are handled as identifiable system components, not stacked loosely beside a jobsite. Modules, rails, clamps, wiring components, and related hardware should remain organized so the original array layout can be restored as closely as roof conditions and approved changes allow. Every panel, every connection, every time is not a slogan in this context. It is the discipline that prevents mix-ups when multiple trades are working around the same roof.
The roofing contractor is responsible for confirming when the roof is ready for reinstallation. That means the roof surface, flashing work, and any required roof-side corrections are complete in the solar work area. The solar team should not reinstall against unfinished roofing details or assume a roof is ready because a target date has passed.
What Requires Separate Approval
Storm work often reveals conditions that could not be confirmed from the ground or before removal. A clear assessment protects everyone by listing likely exclusions rather than folding unknown work into a vague promise.
Separate approval may be needed for replacement modules, specialty mounting hardware, damaged wiring, conduit repairs, inverter or optimizer faults, code-driven upgrades, panel relocation, unusual access needs, structural concerns, or additional roof-side repairs outside the agreed solar scope. The need for an item does not mean it will be required. It means the customer receives a clear explanation and quote before that work is performed.
This approach also avoids confusion around warranties. Remove and Restore Solar LLC provides a 10-year leak and labor workmanship warranty on its solar PV detach-and-reset work at no additional cost. Manufacturer, equipment-provider, roofing, and other third-party warranties remain subject to their own terms and requirements.
Closeout Documentation Matters After the Roof Is Finished
Once the roofer releases the work area, reinstallation should be followed by photos of the completed array, visible wire management, accessible equipment status, and the observed results of final testing. The closeout record should state the date, site conditions where relevant, equipment observed, and any unresolved faults or limitations.
A final production check can show that the system was operating as observed at completion. It cannot eliminate unrelated existing equipment problems or guarantee future energy production. That distinction is honest, and it gives homeowners a usable record if they need to follow up with an equipment provider later.
If your roof has storm damage and solar panels are in the work area, call Remove and Restore Solar LLC at 321-322-7746 to discuss scheduling. Have the roofer’s planned work, panel count, system age if known, photos of visible damage, access details, and preferred project dates available. A defined scope before removal gives the roof, the array, and everyone working on the project a better path forward.